
Please note that while I call out certain products by name and make recommendations, this post is not sponsored nor approved by the manufacturers of the products and I am receiving no compensation for this guide.
I have found that everybody has their own method and strategy to water slide decals. They all seem to work well enough for those that advocate for them. This is my method, which works for me, but the wonderful thing about a creative hobby like model railroading is that it lends itself to experimentation and innovation. Feel free to try out different gloss products and learn which ones you like best. Play around with different tools – you may prefer a different style of scissors than I do. I will point out differing opinions within the following steps that may help you develop your own method.
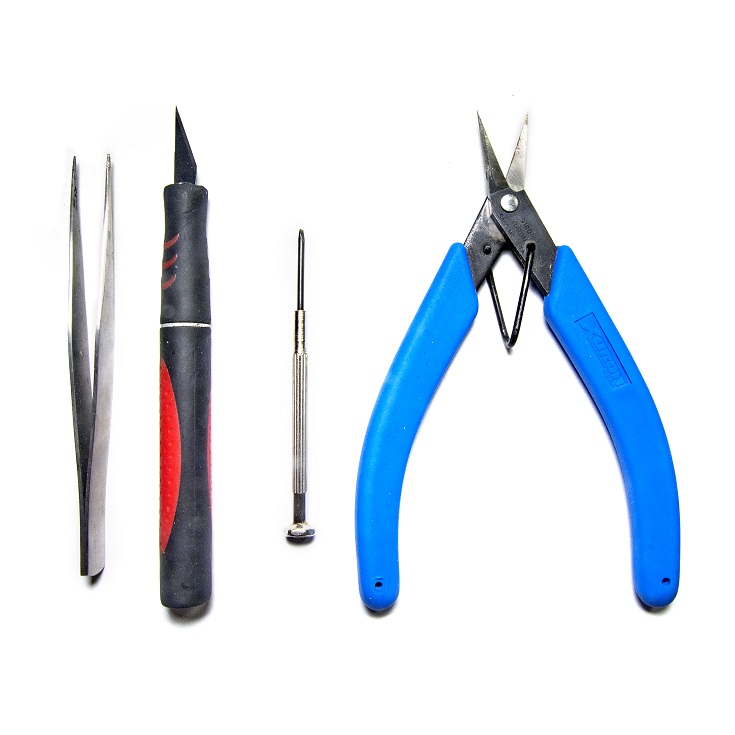
Wet decaling is easier than it may seem to a novice. The required tools are simple:
- Tweezers
- A hobby knife
- A prodding tool such as a short skewer or small flathead screwedriver
- A soft fine paint brush
- A pair of scissors (Xuron photoetch scissors are my recommendation)
The photoetch scissors are fine quality, designed for trimming thin metal sheets, but they are sharp and precise enough to easily trim fine decal paper. Normal scissors work as well, but I do recommend investing in the photoetch scissors, two if you can – one for their intended purpose, and one specifically for decaling.
In addition to the tools, you will need:
- Gloss coat (such as Testors Glosscote or Holloway House Quick Shine polish, which is my choice)
- Decal setting solution (such as Walthers Solvaset or Microscale Micro-Sol and Micro-Set)
- Flat Coat (such as Testors Dullcote or Tamiya Flat)
There are many brands that work well. For the gloss I use Pledge floor polish. The Pledge brand is no longer produced, but Holloway House Quick Shine polish uses the same formula. For the setting solution I prefer Walthers Solvaset. My flat coat of choice is Tamiya Flat in a rattle can – it is a bit more expensive than Testors Dulcote, but the quality of the finish is much better.
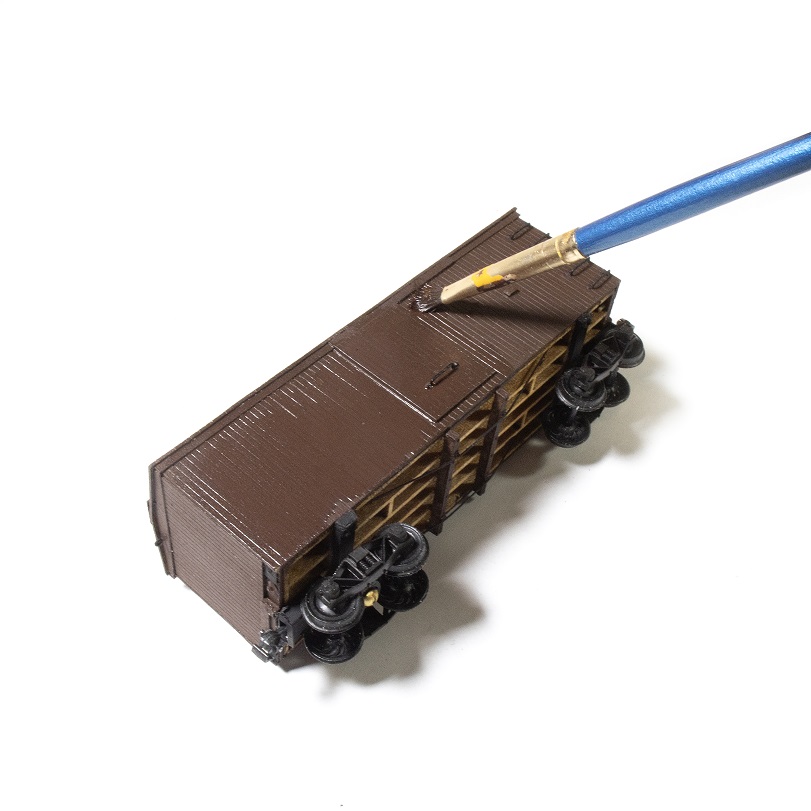
1. Apply the Gloss.
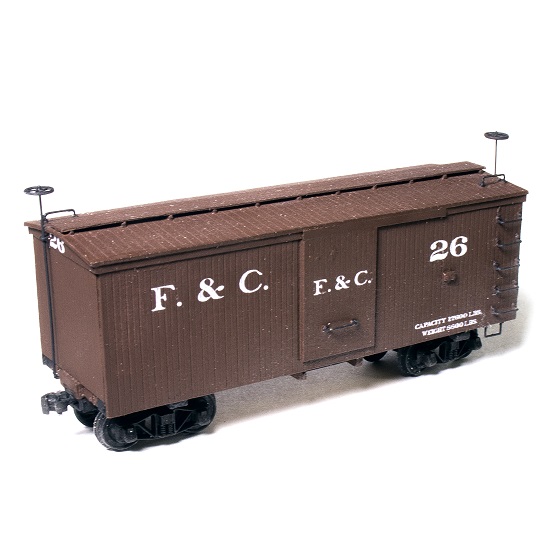
The first step to wet decaling is to apply a base gloss layer. The floor polish is inexpensive (a huge win in an expensive hobby!), water soluble, and can be removed after curing with an ammonia-based cleaner such as Windex. Reading hobby forums and how-to articles, there is a lot of dissenting opinion on how this product is intended to be used. Several sources claim that it needs to be applied so thick that it fills in all cracks and nooks, so that the decal can rest on a flat surface. This is incorrect. Put it on that thick and your model will look like it was encased in glass. Apply several thin coats with a brush and allow five to ten minutes to dry between coats. I rarely use more than two coats; wood kits like the one shown in this tutorial will often soak up the polish leaving a lovely satin finish. This is sufficient for what this gloss layer is intended to do: help hide the decal film.
You do not need to wait for this first gloss layer to cure completely (24 hours) before applying the decals. In fact, twenty minutes, or at least until the final application is dry to the touch, is sufficient. This will help the setting process when you apply the setting solution later on.
2. Prepare the decals
Cut the decal from its carrier sheet. If the block of lettering you are applying has a large surface area, it will help the process later on to carefully cut slits with the hobby knife into the open film that does not have any printing, otherwise the large film area will bunch up around any protruding details and warp the lettering.
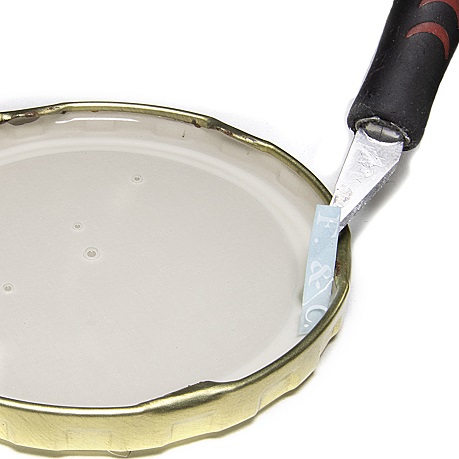
3. Soak the decals
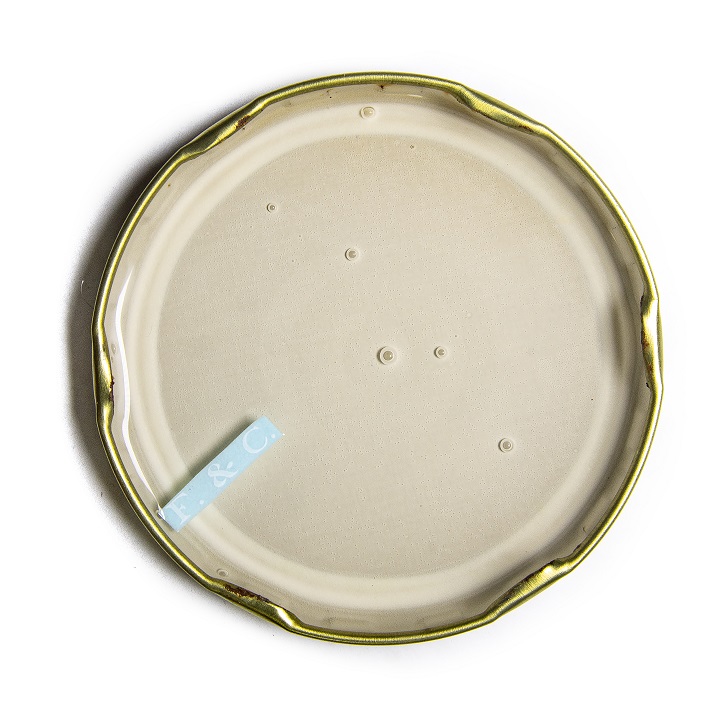
Place the individual decals into a shallow container filled with warm water. If your lettering is white it helps if the container is an off-white or dark color. I use the metal cap from a pickle jar (thoroughly washed). It’s cheap, but it works, and keeps one more piece of garbage out of a landfill.
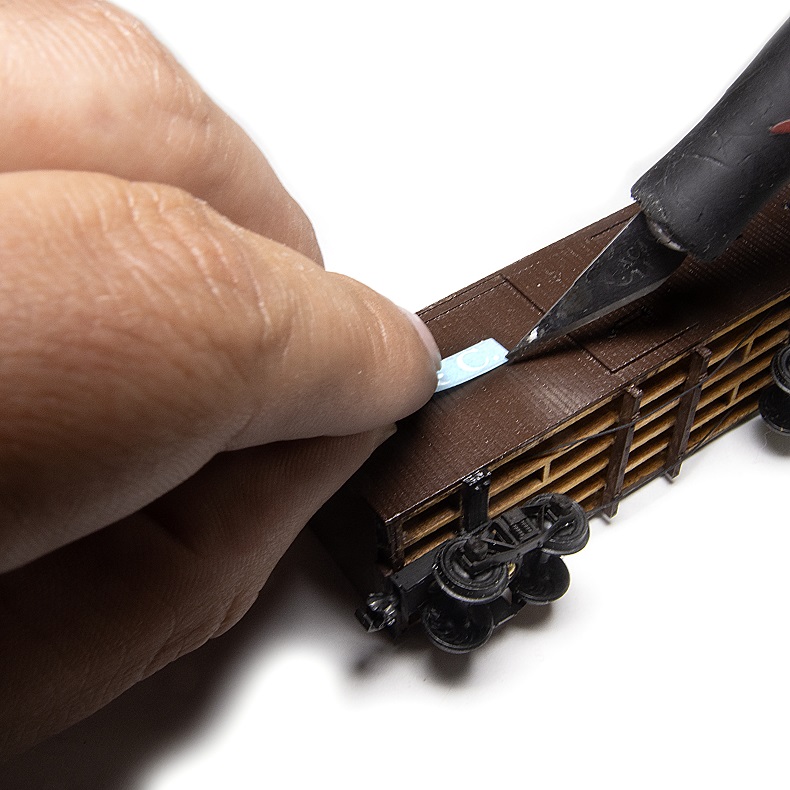
How long the decal should soak is another controversial subject. Some people insist that the decal paper should fall away from the decal film, leaving the film floating in the surface tension of the water. I’ve never actually done that; in fact, I found that it’s easier to crumple and lose your decal this way. Wait thirty seconds or so (practice will help you determine by eye when a decal is “ripe”), then remove it, paper and all, from the water using the hobby knife or tweezers. Do not blot or dry the decal; water is beneficial when positioning it. I position the paper where I want the lettering to go, then using the small screwdriver or other prodding tool to hold the film in place, slowly pull the paper out from under the film, leaving the film on the model.
4. position the decal on the model
Don’t worry if it slides on crooked. Using the paint brush, dab some extra water on and around the film and let capillary action pull the water under it. Then use the brush to carefully nudge the film until it is correctly positioned. The water floats it off of the surface of the model allowing it to move freely. Once you are satisfied, let the film air dry. Again, don’t try to blot it; this can leave lint or move the film out of place again.
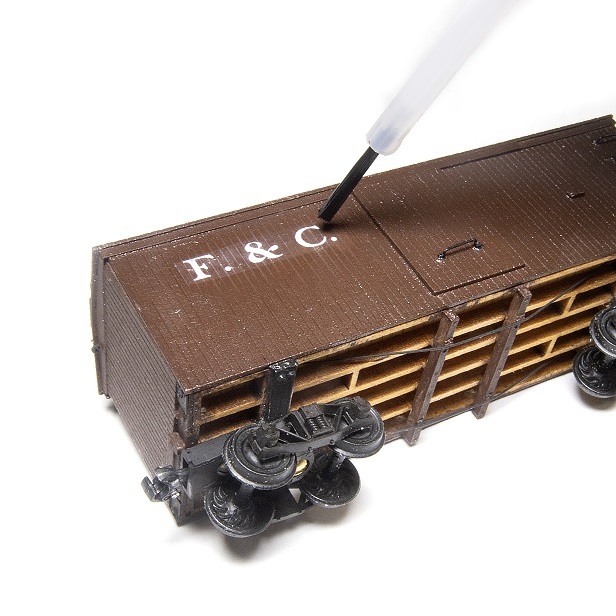
5. Apply decal setting solution
Once dry (typically less than a minute), apply the decal setting solution. I brush around the edge of the film, then on top. Capillary action will once again suck the setting solution underneath the film and begin to soften it.
Resist the urge to touch the decal at this point; the setting solution is a solvent that is lightly dissolving the film. The slightest touch can wrinkle or tear it, leaving unsightly three-dimensional imperfections in your paint job.
The gloss coat might turn milky white in this stage. Don’t worry; it will turn clear again once the setting solution dries. This is where the floor polish is advantageous; the setting solution is not softening the film alone, but the gloss coat, which allows the decal to sink into the gloss and “disappear.” Just let the setting solution do its work; after 15-20 minutes it should be evaporated and the decal film sunk into the contours of your model.
6. Check for bubbles, “silvering,” or parts of the decal that haven’t settled
if the film is not in complete contact with the model surface, small bubble domes, or spots where the decal doesn’t settle into the grooves of wood siding will become apparent. If there are any parts of the decal that have not settled down into the surface, apply more setting solution and wait for it to dry once more. Check to ensure that there are no air bubbles; sometimes air becomes trapped under the film, which will result in “silvering.” Using a fresh, sharp hobby blade gently poke the bubbles and apply a second round of setting solution. Repeat this process until you like what you see.
7. Apply more gloss
Once you are satisfied with how the decal looks, we are ready to seal the deal – apply one or two coats of the gloss over the surface of the model. This time, allow it time to cure completely (24 hours).
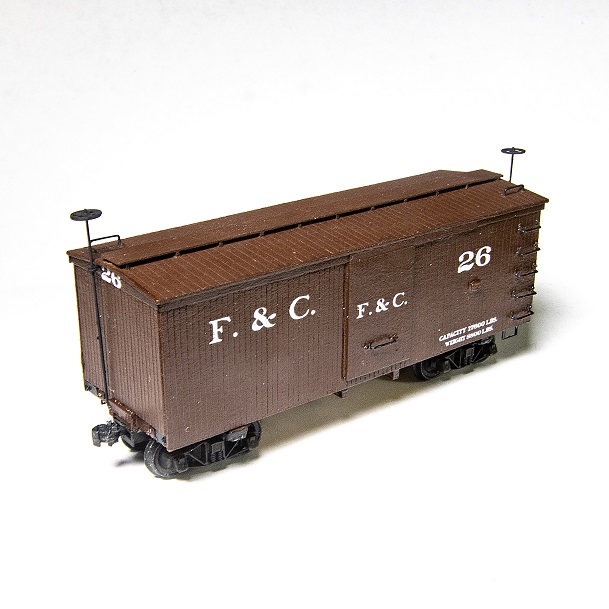
8. Apply flat finish
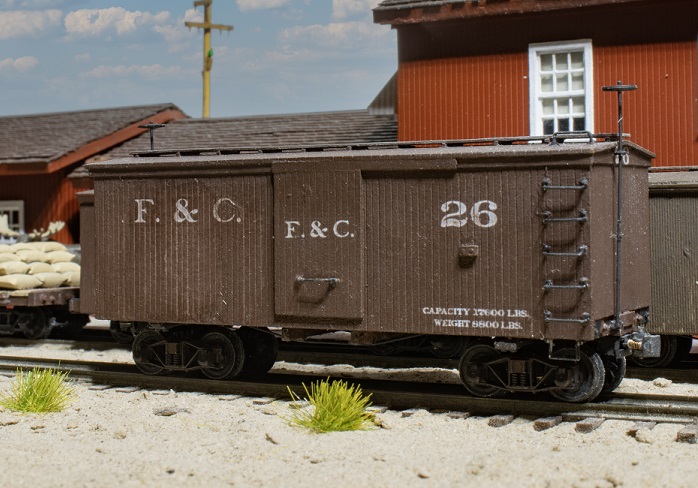
Finish the model with the flat coat of your choice. When the flat coat cures, the edges of the decals should be nearly imperceptible except under unusual angles or lighting conditions. Weathering the model can blend the lettering further if not; some companies use thicker films than others, so some brands of decals may not settle into surface as well, but don’t let this discourage you.
9. Continue learning!
Remember, if you’re new to water slide decals, practice makes perfect! Don’t be afraid to experiment, and figure out what tools and materials work best for you. There are many techniques to applying water slide decals, so check out forums or your local club to see how other modelers might use decals differently!

Leave a comment